Learn how to trim around sprinkler heads without cracking or misaligning them. Five steps, common mistakes to avoid, and the fix that makes it permanent.
⏱ 8 min read · Last updated September 2026
Ken Kwiatkowski
Founder of GRASSHOLE Corporation & inventor of the Sprinkler-Guard
Veteran. Florida homeowner who got tired of replacing the same broken sprinkler heads every season. Featured by Kevin Harrington (from Shark Tank). Recipient of the JMI 30 Award. Manufactures in Bradenton, Florida.
Full disclosure: GRASSHOLE Corporation manufactures the Sprinkler-Guard discussed in this guide. Our recommendations come from years of field testing and customer feedback.
Table of Contents
The right way to trim around sprinkler heads is to walk the zone first to spot every head, then work around each one at slow speed keeping the line clear of the nozzle. For permanent peace of mind, a sprinkler guard around each head absorbs stray trimmer contact before it reaches the plastic, so one careless pass does not end up as a repair bill.
You learn it the hard way. The trimmer catches the edge of a pop-up head, there is a sharp crack, and now you’re looking at a service call for something that took two seconds to break. According to LawnLove, professional sprinkler head replacement runs $59 to $150 per head, and that doesn’t include the service call fee on top of the repair. Replace a few of those in a summer and the costs pile up.
The good news: trimming around sprinkler heads is a skill you can get right with a simple routine. A few habits change everything, and then you stop dreading the trimming run.
Why Trimmer Damage Is So Common
The string on a trimmer spins at several thousand RPM. At that speed, even a near-miss can crack a plastic cap or knock a head off its riser. Three things cause most of the damage.
The head is hidden under grass
Grass grows fast in summer, especially in St. Augustine and Bermuda yards common across the Sun Belt. A pop-up head can vanish under two weeks of growth. You’re trimming along and the line finds the head before your eyes do. That “clunk” sound means contact.
The line swings wider than you expect
Most homeowners trim in a sweeping arc from the handle. The tip of the line extends the trimmer’s cutting radius farther than it looks from where you’re standing. You might think you’re clear of a head while the line tip is still within range.
Heads shift out of grade over time
Soil settles. A head that sat perfectly flush two seasons ago may now protrude slightly above grade, which makes it much easier to tag on a pass. Areas with clay soil or heavy foot traffic shift the most.
A single broken sprinkler head can waste up to 25,000 gallons of water per year, per the EPA WaterSense program. Protecting each head costs a fraction of one repair visit.
Step-by-Step: How to Trim Around Sprinkler Heads
Total time needed: about 10 minutes.
- Step 1: Walk the zone before you start
Before you fire up the trimmer, walk every area you plan to trim. Mark each sprinkler head you find with a flag, stake, or even a golf tee. [City safety guidelines for lawn equipment](https://www.klc.org/News/12845/remember-to-focus-on-lawn-mower-safety) specifically recommend marking obstacles like sprinkler heads before any mowing or trimming work, because a visual sweep before you start is far easier than diagnosing a broken head after the fact. Pay special attention to corners, along fence lines, and near flower beds. These spots tend to collect heads that get forgotten between cuts.
- Step 2: Handle open lawn areas and edges first
Do the edges, sidewalk borders, and fence lines while you're at full energy and speed. Save the sprinkler zones for when you can focus. This also means you've cleared the obvious trimming in case you need to slow down more carefully later.
- Step 3: Approach each head from the side in a wide arc
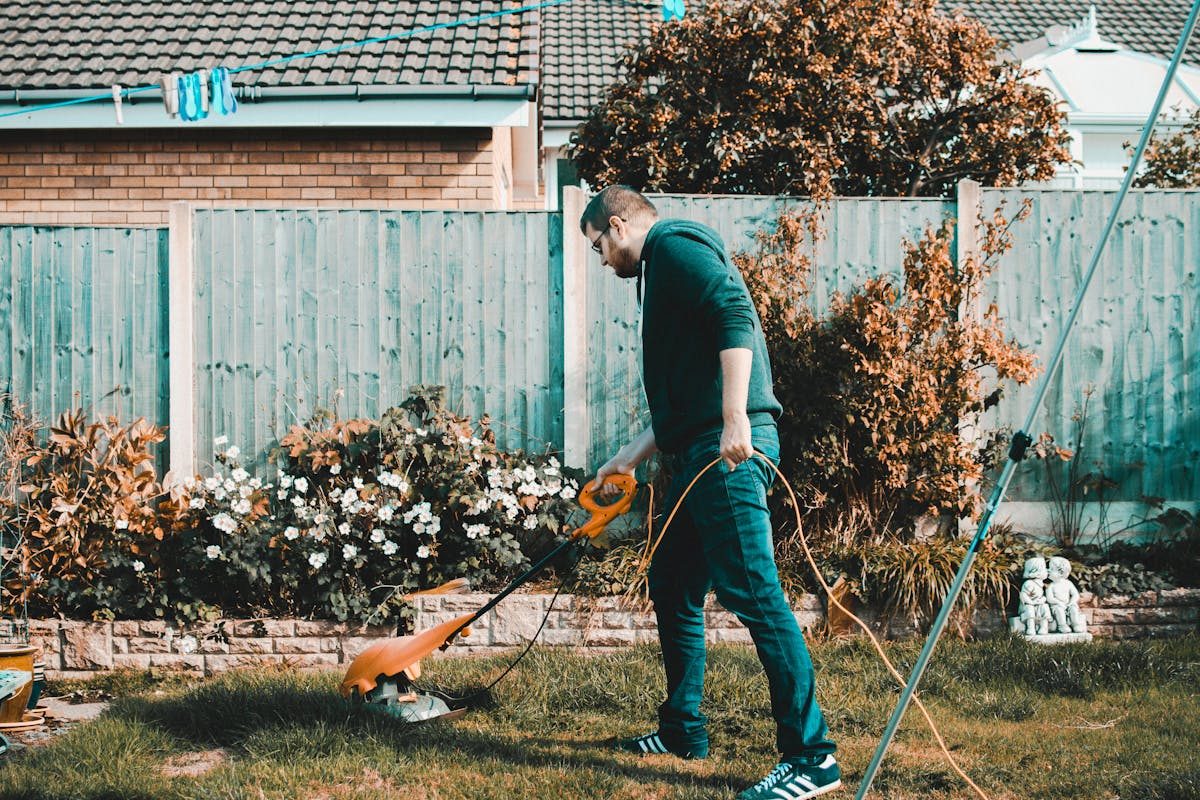
Come at the head from the side rather than straight on. Keep the trimmer moving horizontally and hold it so the line stays parallel to the ground rather than angled into the soil. Circle the head in a smooth arc at a comfortable working distance from the nozzle. The goal is to trim the grass growing close to the head without the line tip reaching the plastic. Think of it like circling a cone on the ground.
- Step 4: Drop to half throttle near each head
Full throttle is not necessary close to a sprinkler head. Dial back to half speed for the arc around each one. The line still cuts grass well at reduced speed, but if it grazes something, there is far less force behind the contact.
- Step 5: Do a quick visual after each head
After circling each head, glance back to confirm the nozzle is clear and the head is still seated level. If a head looks high, tilted, or is wobbling, that is a sign it needs attention before the next watering cycle. A head that tips even slightly starts spraying at the wrong angle, which creates dry patches in the zone. For heads that keep dropping out of grade, see our breakdown of [why sprinkler heads keep sinking](https://grassholesystem.com/sprinkler-heads-keep-sinking/) and how to fix it.
Common Trimming Mistakes to Avoid
Even with a careful routine, a few habits will catch you.
Trimming when the grass is overgrown. Tall grass hides heads completely. If you have skipped a cut or two, flag every head you know about before you start. Some yards have heads in spots that get forgotten between cuts, and tall grass makes those invisible.
Bumping out fresh line right next to a head. A fresh bump sends out extra line at full snap. Use the old, shorter section of line when you are circling heads, and only bump out fresh line when you are clear of all hardware.
Ignoring heads that are starting to drift below grade. A head that has sunk slightly below grade will eventually become covered by grass entirely. That makes it impossible to spot before trimming over it. Heads that keep sinking need to be raised. In the meantime, add a guard so there is something to see even if the head itself is getting low.
Trusting your memory for head locations. You know where most of your heads are, but not all of them. Every system has a head or two in an unexpected spot. Flag before you trim, every single time. It takes a few minutes at the start and saves real money.
Also worth linking if this problem shows up on the mower side: we have a full guide to how to mow around sprinkler heads that covers the same systematic approach for push and riding mowers.
The Fix That Takes Trimmer Damage Off the Table
Technique gets you a long way, but there is a cleaner answer: put something around each head that absorbs the impact before it reaches the plastic.
The Sprinkler-Guard by GRASSHOLE sits at grade level around each sprinkler head. The outer ring takes the contact from your trimmer line. The ring is made from Flexible Advance ABS with UV Deterrent, so it flexes on impact rather than cracking. The head itself stays undamaged.
The guards also stop grass from closing in around the head between cuts, which solves the visibility problem at the same time. Heads surrounded by a guard stay clear and easy to spot before every trimming session.
Installation is 30 seconds per head, no tools. Put one around each head on a Saturday morning and the trimming problem is handled for good. See how the Sprinkler-Guard compares to concrete donuts and other protection methods.
| Protection Method | Upfront Cost | Stops Trimmer Damage | Stops Grass Overgrowth | Absorbs Impact |
|---|---|---|---|---|
| Trimmer technique only | Free | Partial (depends on focus) | No | No |
| Sprinkler-Guard | $6.50/head (10-pack) | Yes | Yes | Yes |
| Concrete donut | Low | Partial | No | No (sinks and cracks) |
| DIY PVC surround | Low | Partial | No | No |
| Marker flags only | Free | No | No | No |
| What it costs | Amount |
|---|---|
| One head replaced professionally | $59 to $150 per head |
| Full repair visit (parts + labor) | $130 to $360 per visit |
| 10-pack Sprinkler-Guard (10 heads covered) | $64.99 one-time |
| 20-pack Sprinkler-Guard (20 heads covered) | $125.00 one-time |
For most yards, the 20-pack covers the entire system. One pack costs less than one service call, and it takes care of every head at once. Compare that to trimmer damage costing $59 to $150 per head per HomeGuide and the math is straightforward.
The guards also work for the best approach to protecting heads from the mower, so one set of guards handles both maintenance tasks.
Frequently Asked Questions
Keep the tip of your trimmer line well clear of the nozzle. Even at reduced throttle, the line's effective reach extends further than it looks from where you are standing. Slow your pass and circle at a comfortable distance, and you will stay out of trouble. When in doubt, hand-cut the last few inches around the head with grass shears.
The issue is often that heads have shifted out of grade over time, so they are slightly higher or more exposed than you realize. Check your heads for level twice a year. Also consider that a head near a corner or edge gets more trimmer passes per session than you might count in a season. Adding a guard eliminates the risk regardless of technique.
No. The Sprinkler-Guard sits at grade around the head, not over it. The head pops up through the center opening freely. The inner diameter is 3.5 inches, sized to clear the nozzle on any standard pop-up head up to 3 inches wide.
Yes. The Flexible Advance ABS with UV Deterrent material flexes on contact with trimmer line rather than cracking. A normal trimming pass across the outer ring causes no damage to the guard. If a guard ever takes heavy, repeated abuse, you replace just that one without touching the rest of the system.
Run the zone while standing in the yard and watch for spray misalignment or areas where the pattern looks short. A buried head usually shows up as a wet patch with limited spray. For a more thorough approach, see our full guide on [how to find hidden sprinkler heads](https://grassholesystem.com/find-hidden-sprinkler-heads/).
The standard Sprinkler-Guard fits pop-up spray heads up to 3 inches wide. For rotor heads and larger pop-up types, the 5-inch Sprinkler-Guard handles heads up to 5 inches across.
The Sprinkler-Guard inhibits grass and weeds from closing in around the head, keeping the area clear at grade. Combined with the trimmer routine above, most homeowners find their heads stay visible between cuts. For more on long-term prevention, see [how to stop grass growing over sprinkler heads](https://grassholesystem.com/stop-grass-growing-over-sprinkler-heads/).
The Bottom Line
Safe trimming around sprinkler heads comes down to three things: mark your heads before you start, slow down near each one, and keep the line clear of the nozzle. Those habits alone will cut your damage rate significantly.
If you want to remove the calculation from every trimming session, a set of Sprinkler-Guards handles it permanently. Each guard costs less than one professional head replacement, and a pack for your whole yard takes about ten minutes to install. Check out the options at Sprinkler-Guard.com.
Not sure? The Sprinkler-Guard ships in 10/20/30/60-packs. If one ever takes too much abuse, you swap just that one in 30 seconds — no full system to replace.
Shop Sprinkler-Guard
- Starting at $64.99 for a 10-pack
- Free shipping on orders over $100
- 500+ five-star ratings from homeowners on Amazon
- Made in the USA by a Veteran-Owned Business in Bradenton, Florida
- Patented design — featured by Kevin Harrington (from Shark Tank)
- No tools required — installs in 30 seconds per head
- One-by-one swap design — if a guard takes too much abuse, swap just that one
Last updated: September 2026. Statistics sourced from EPA WaterSense, Johns Hopkins Medicine, LawnStarter, LawnLove, HomeGuide, IBISWorld. Product specifications and pricing current as of publication date.